
Once your solar quote has been accepted and the system has been designed, attention turns to the installation itself. This is often when homeowners start asking how long the work will take, whether the electricity will be turned off and where the inverter and battery will be installed.
The good news is that a properly planned domestic solar installation is usually more straightforward than people expect. Here’s what typically happens when Generating Energy installs a solar PV and battery system in Liverpool.
Before installation: designing the system
The most important part of a solar installation happens before anyone gets onto the roof. The system first needs to be designed around the property and the way electricity is used.
At Generating Energy, we consider:
- Electricity consumption
- Roof size
- Roof orientation
- Roof pitch
- Shading
- Available panel space
- Battery requirements
- Inverter specification
- Cable routes
- EV charging
- Future electricity use
This allows us to design the system around the property instead of offering a standard package.
The site survey
Before installation begins, the practical details need to be confirmed. The survey may include checking:
- Roof condition
- Panel positioning
- Equipment locations
- Inverter position
- Battery position
- Cable routes
- The consumer unit
- Meter location
- Access requirements
- Scaffolding requirements
This stage helps prevent surprises during the installation. A design may look suitable on a computer screen, but the site survey confirms how it will work on the property.
Step 1: Scaffolding and safe roof access
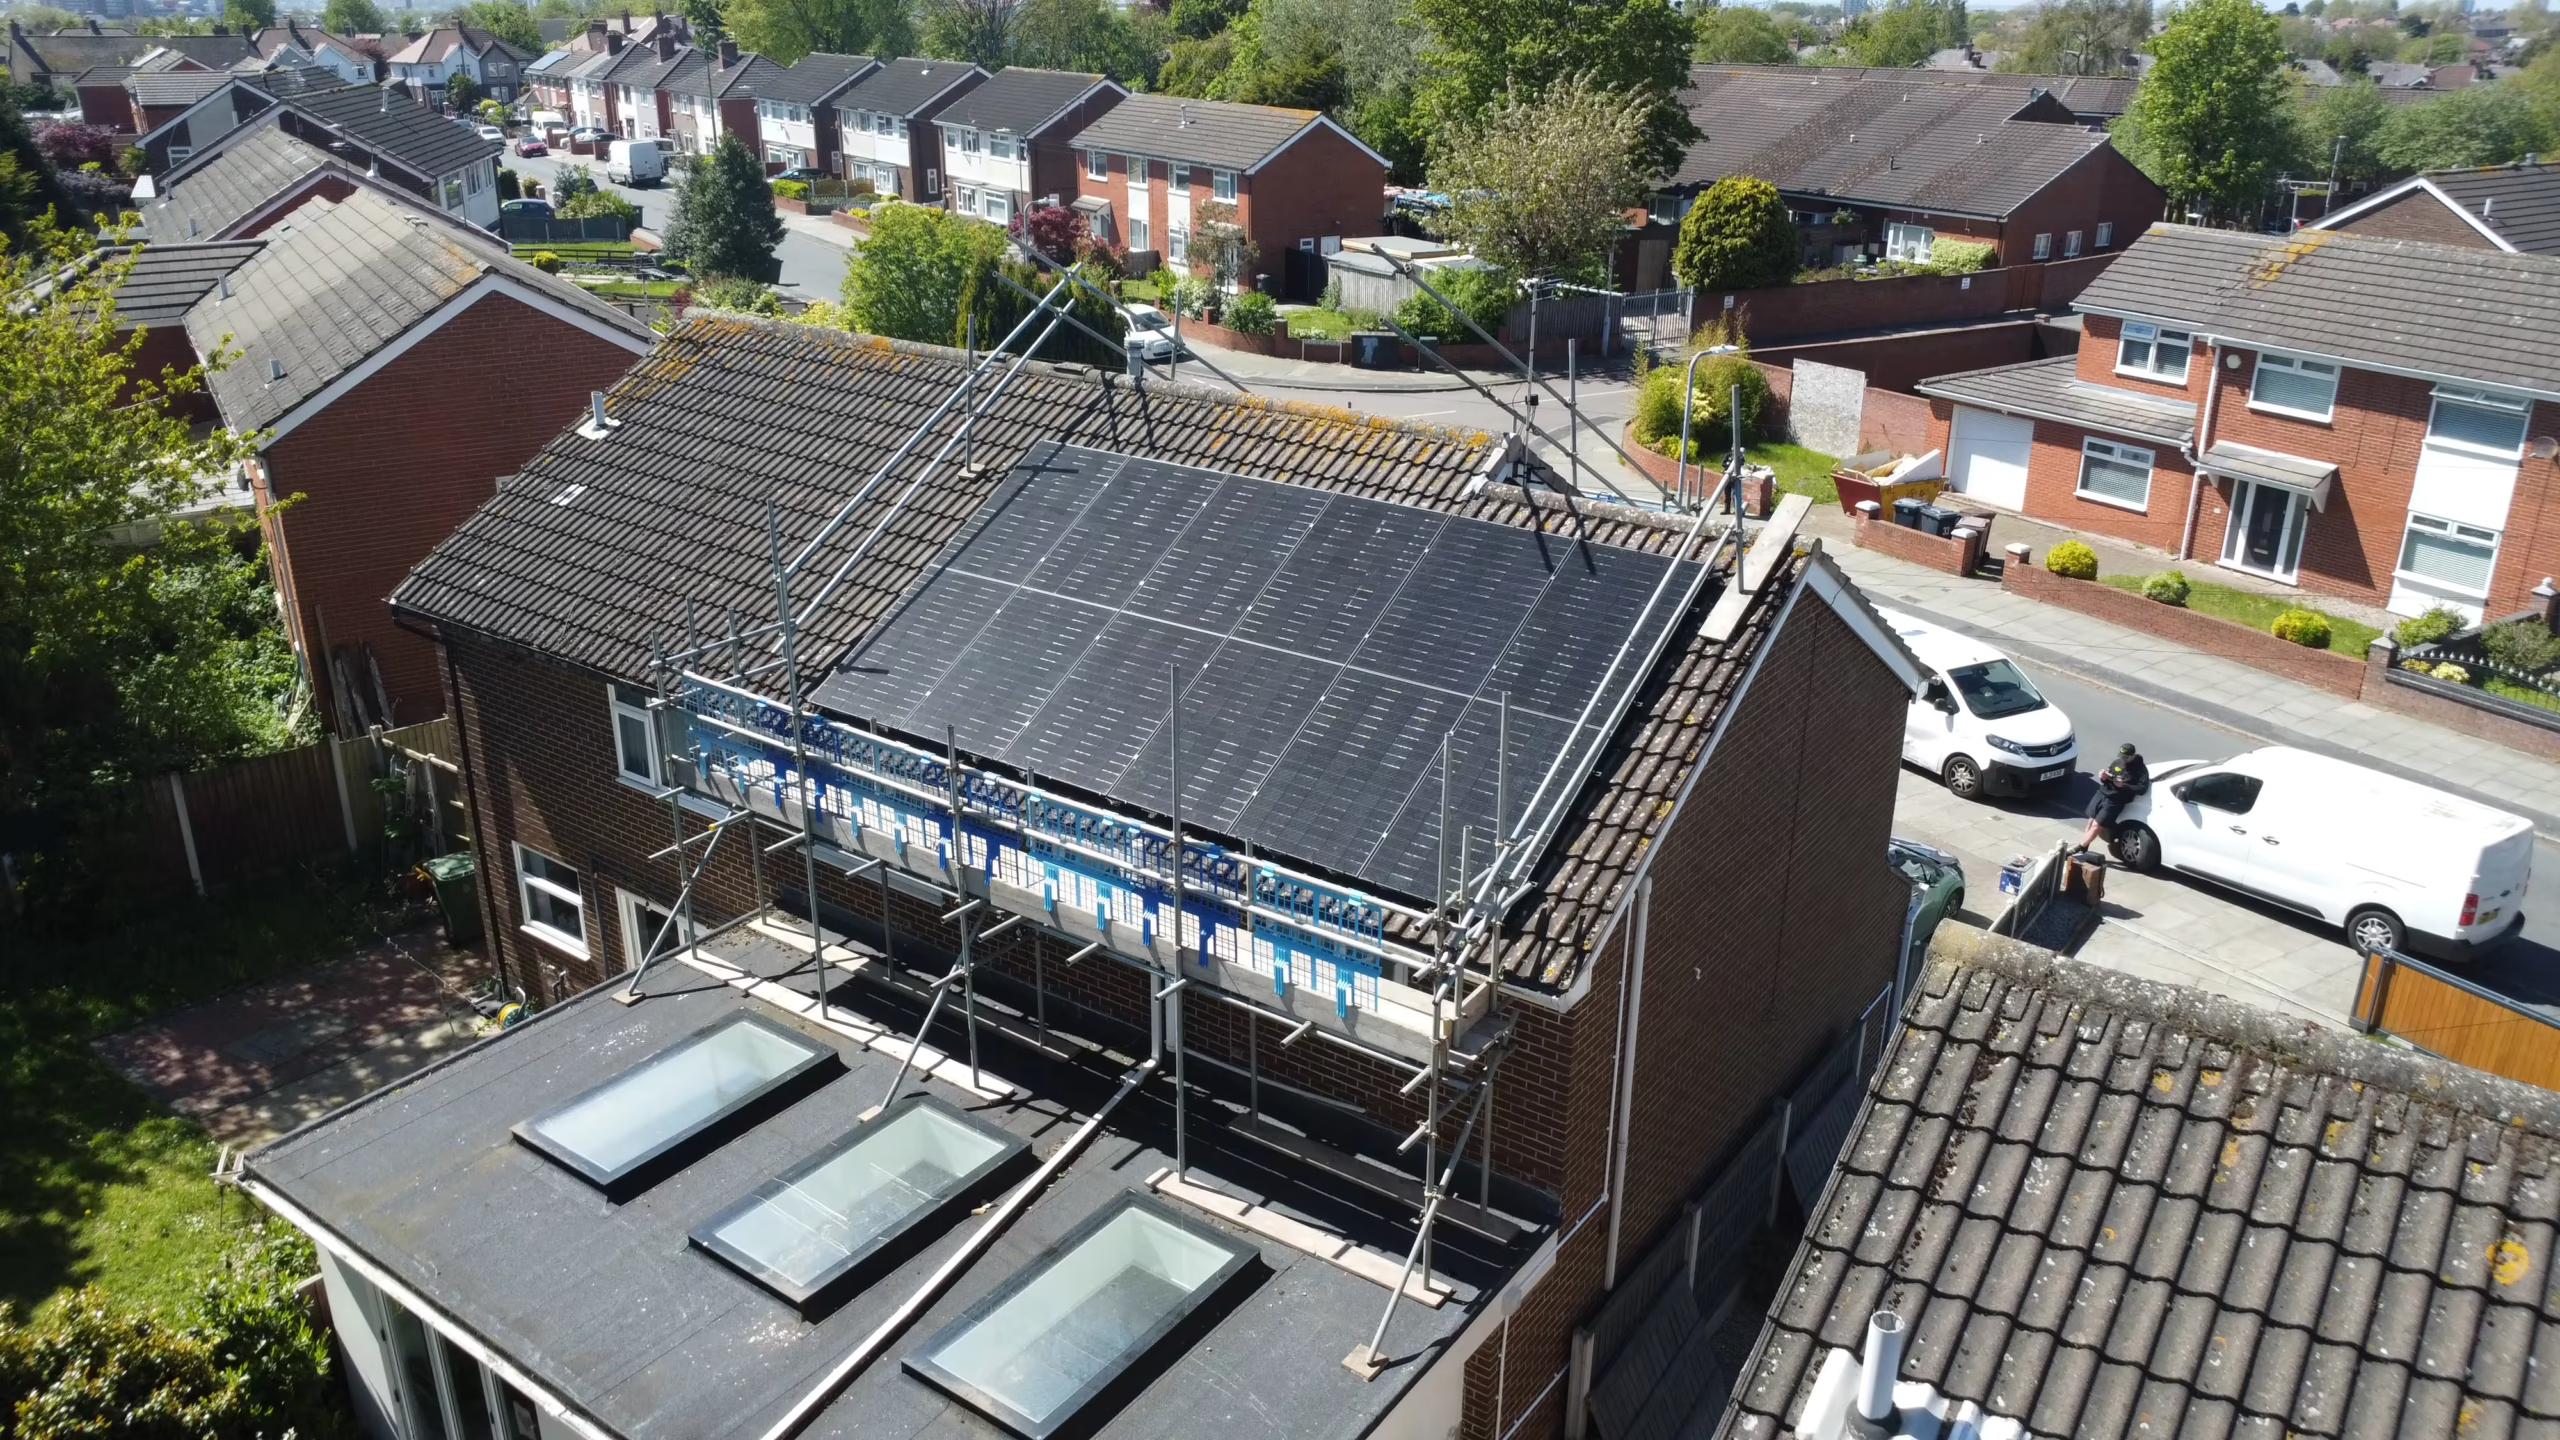
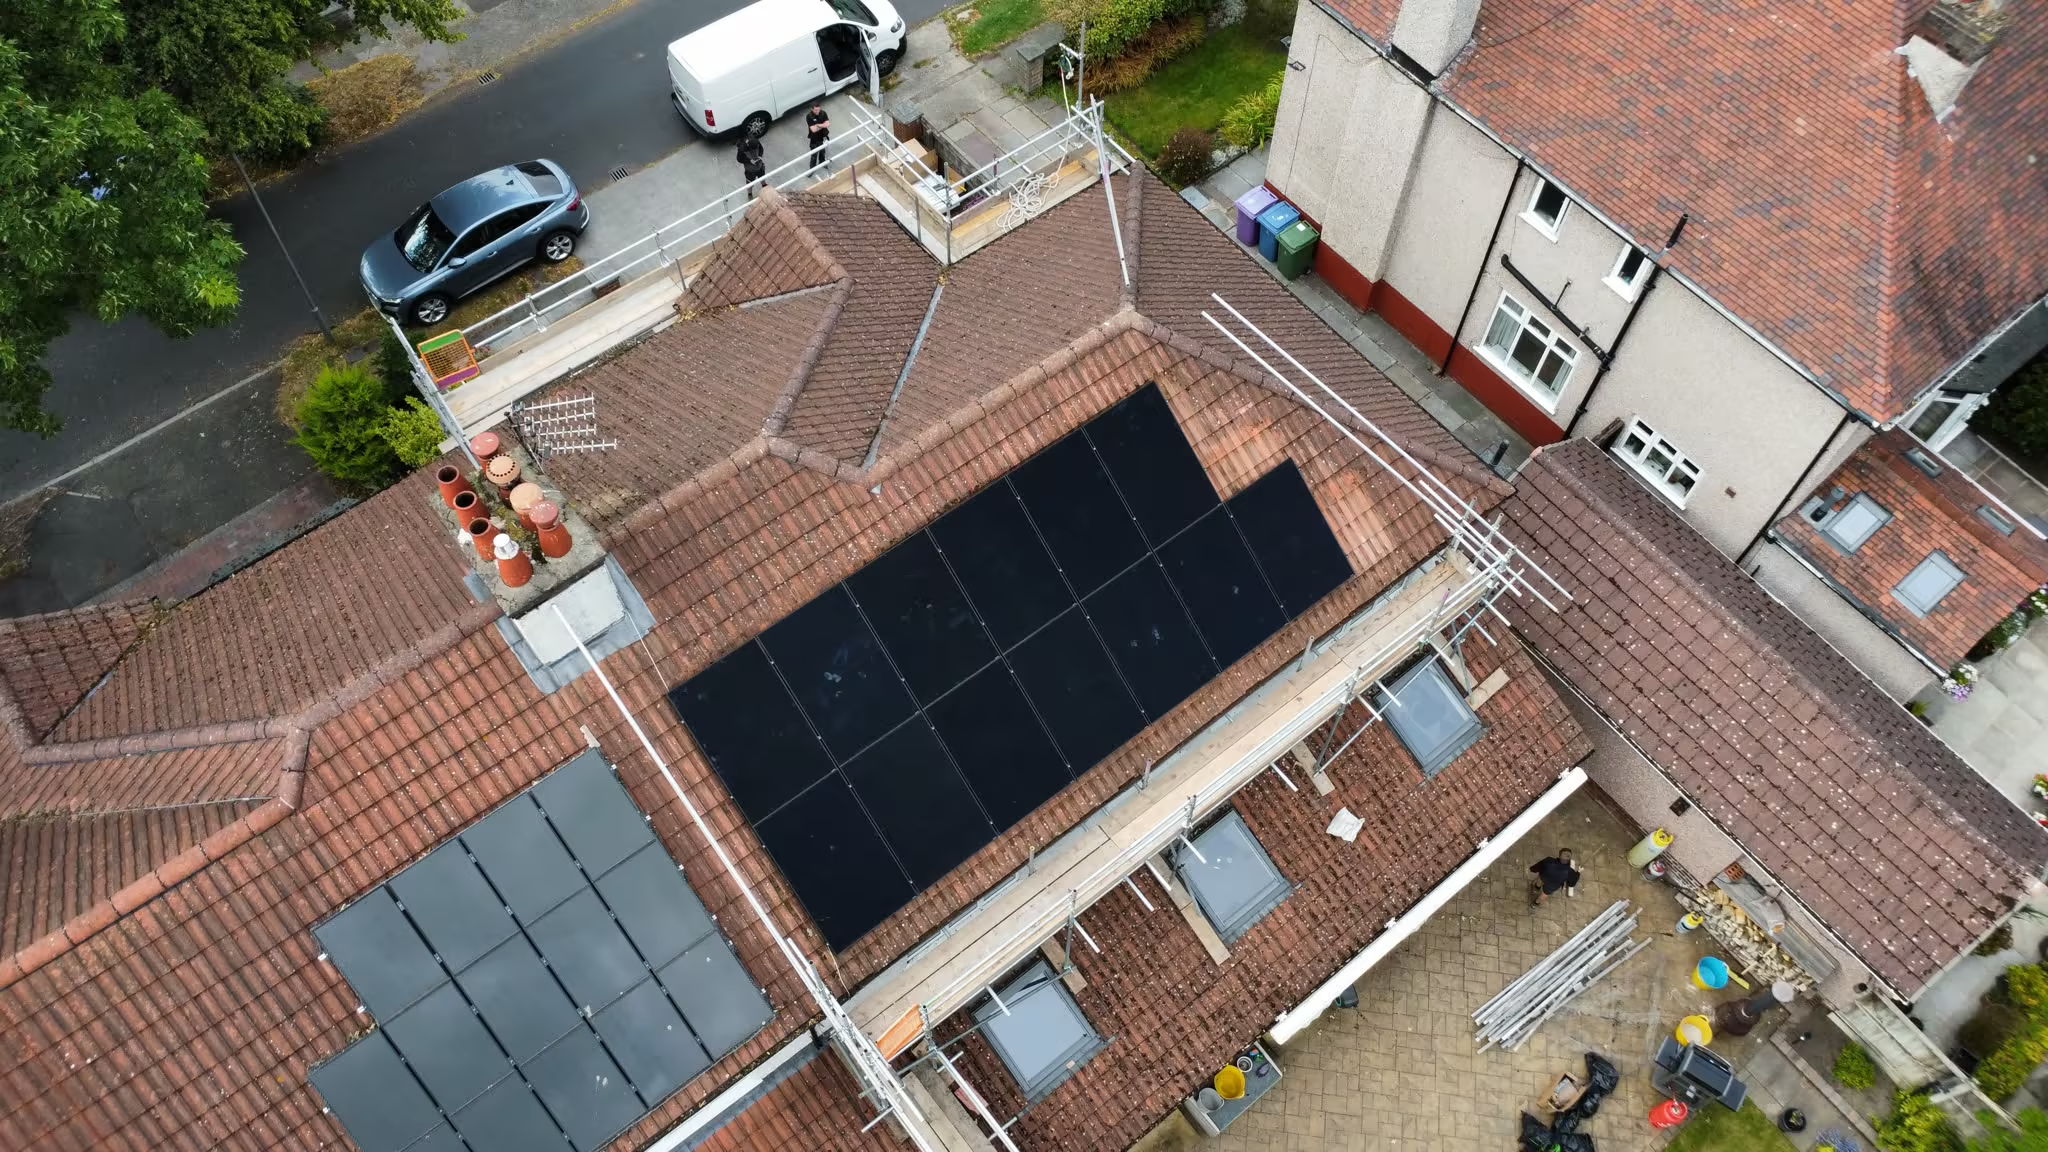
Scaffolding is required for many pitched-roof solar installations. It allows the installation team to work safely while fitting the mounting system and panels.
Depending on the property, the scaffolding may be erected shortly before the solar team arrives. The amount required can depend on:
- The height of the property
- The number of roof elevations
- Extensions
- Conservatories
- Side access
- The roof layout
A straightforward semi-detached home may require relatively simple access. A larger property with panels across several roof sections may need a more extensive scaffolding arrangement.
Step 2: Checking the roof
The roof is checked before the mounting system is installed. Solar panels are expected to remain in place for many years, so the condition of the roof matters.
The installation team also confirms the planned layout and mounting positions. A good solar installation isn’t simply about fitting panels. It’s about fitting them correctly.
Step 3: Installing the solar mounting system
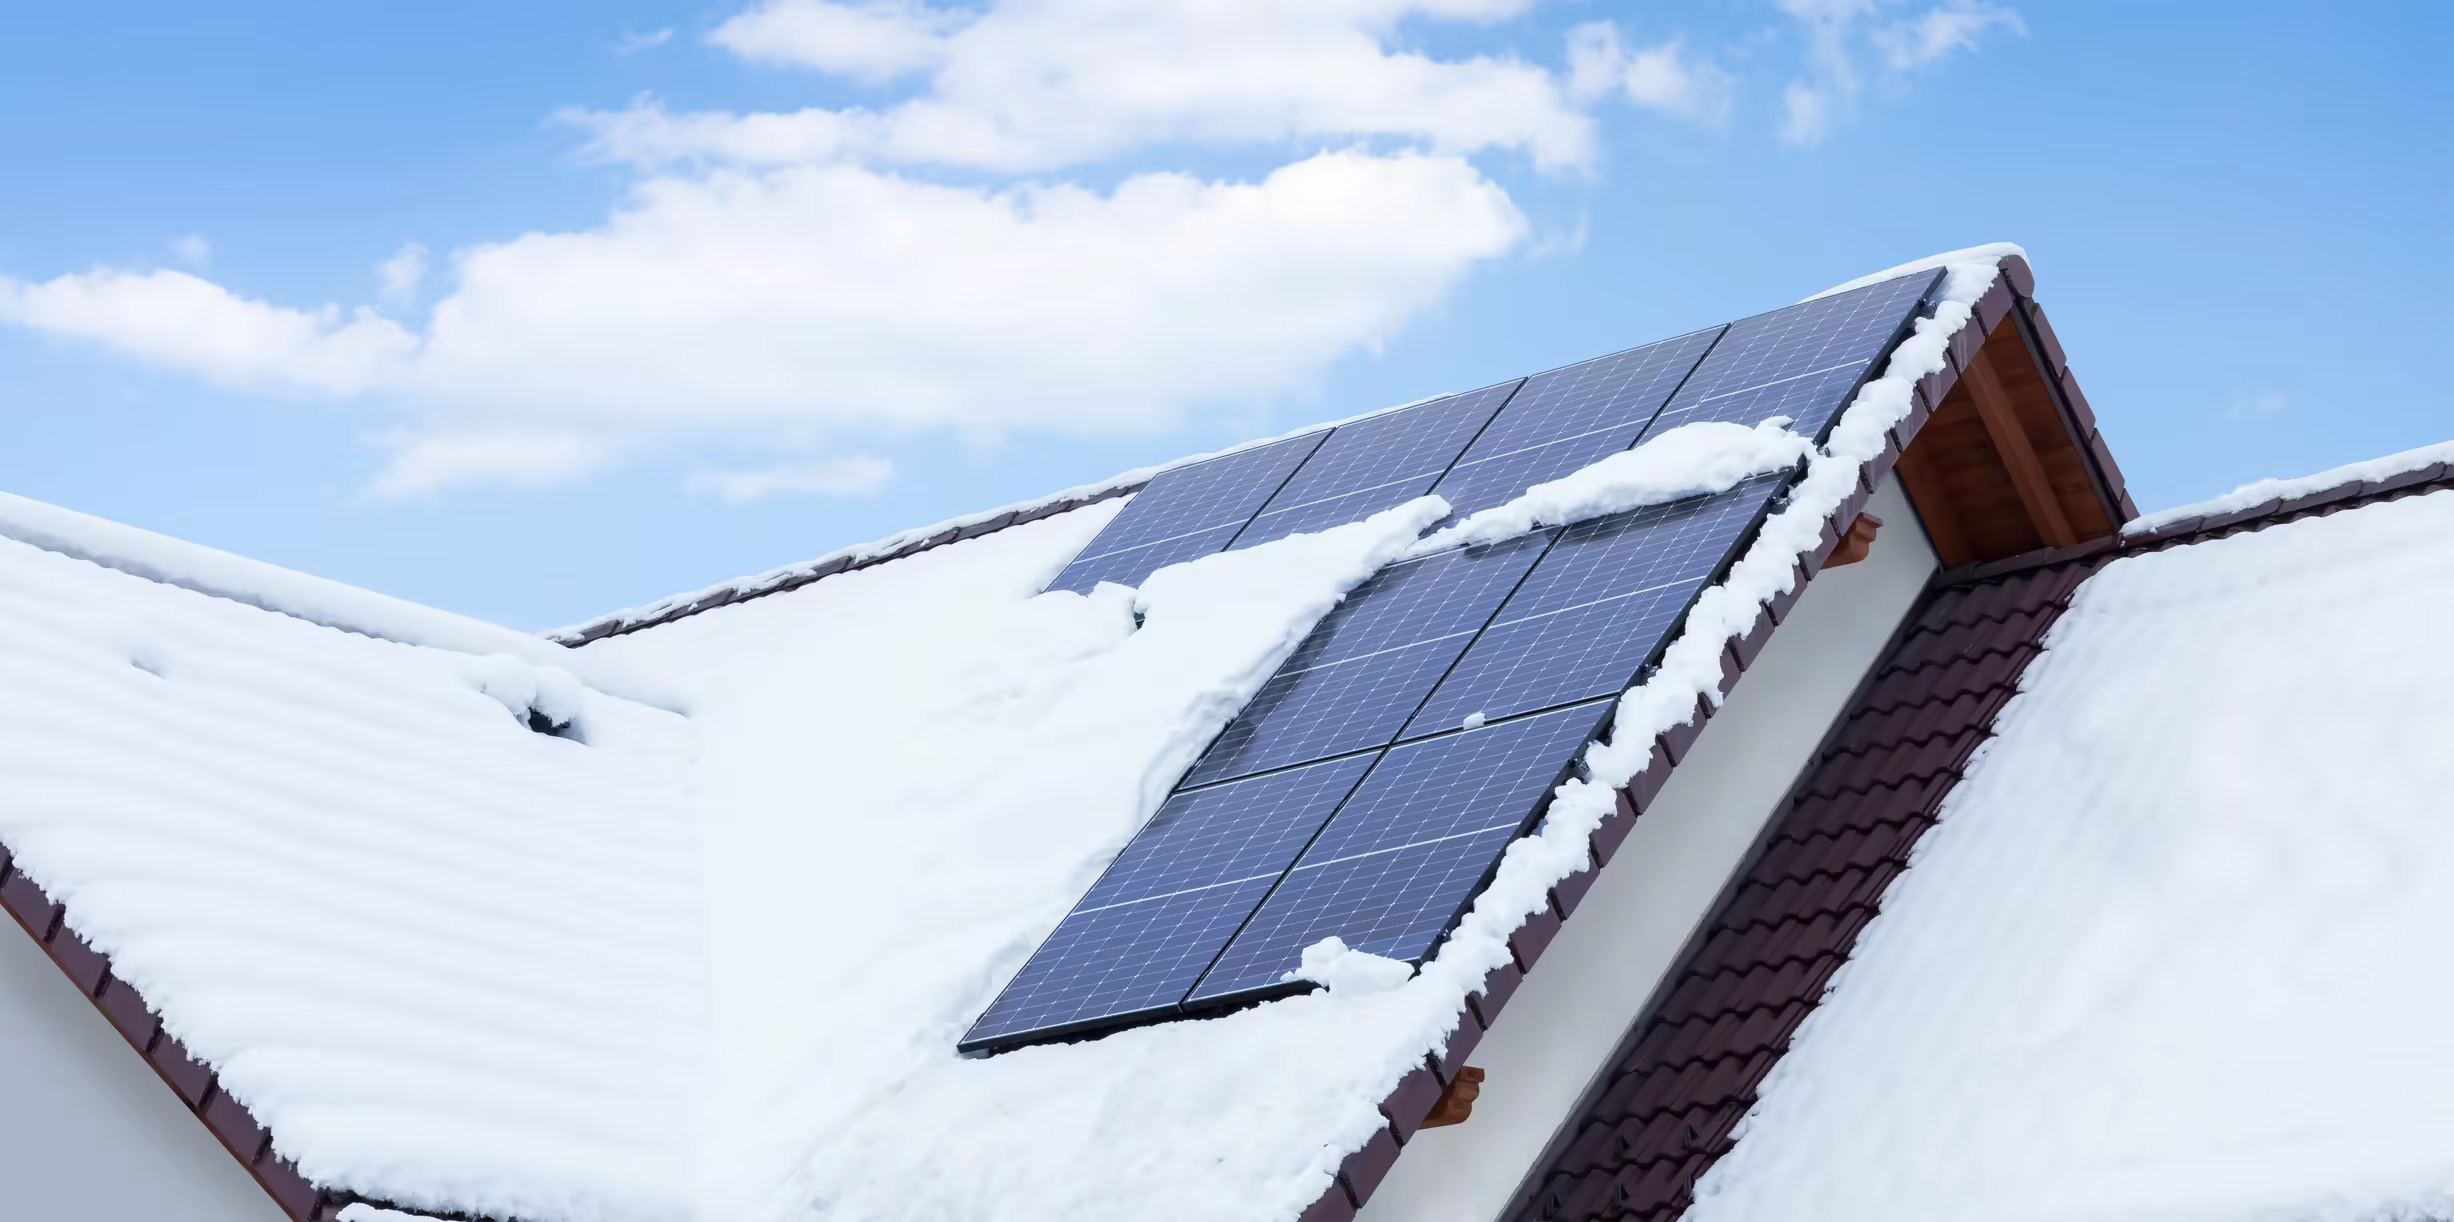
Solar panels are attached to a purpose-designed mounting system. The exact equipment used depends on the type of roof.
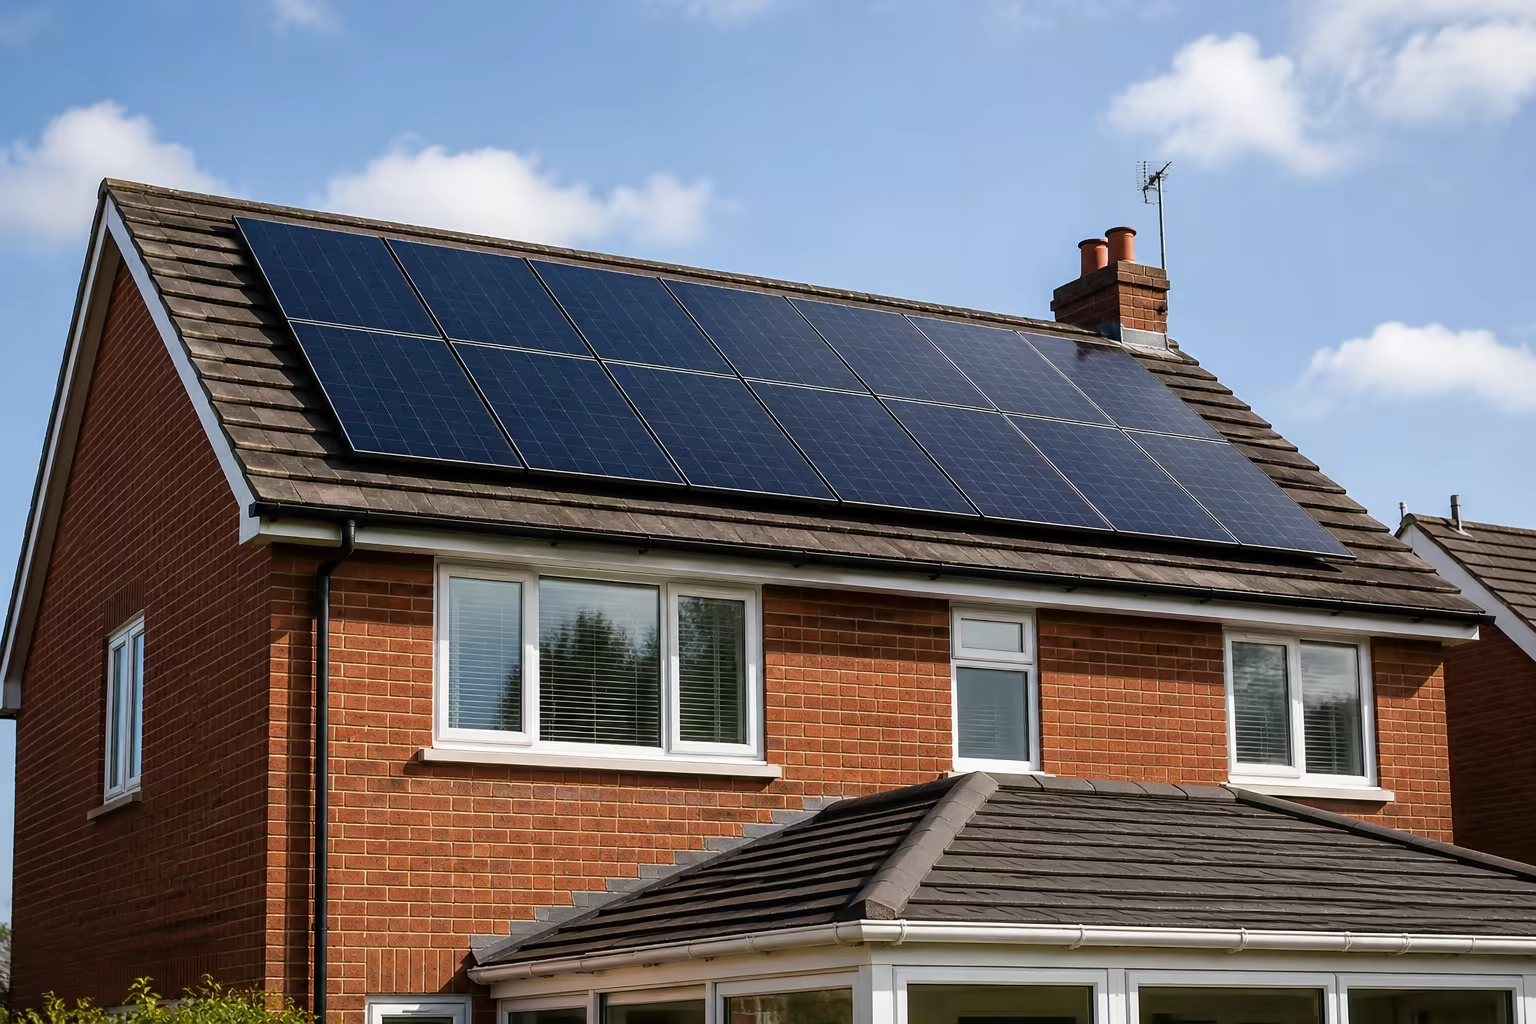
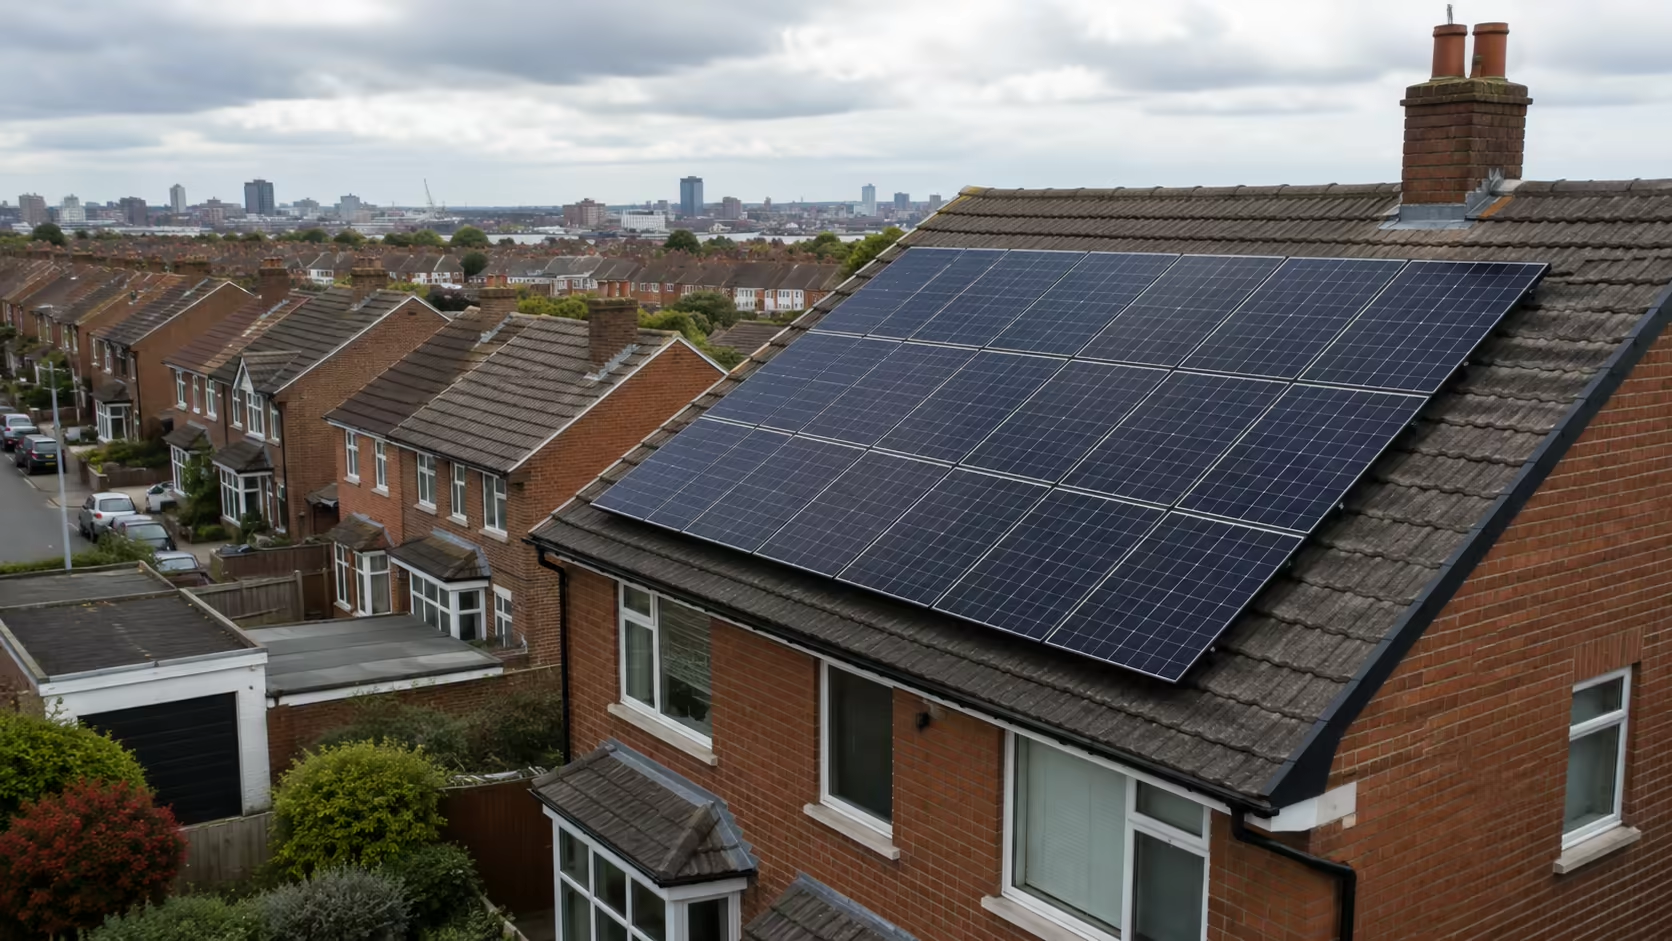
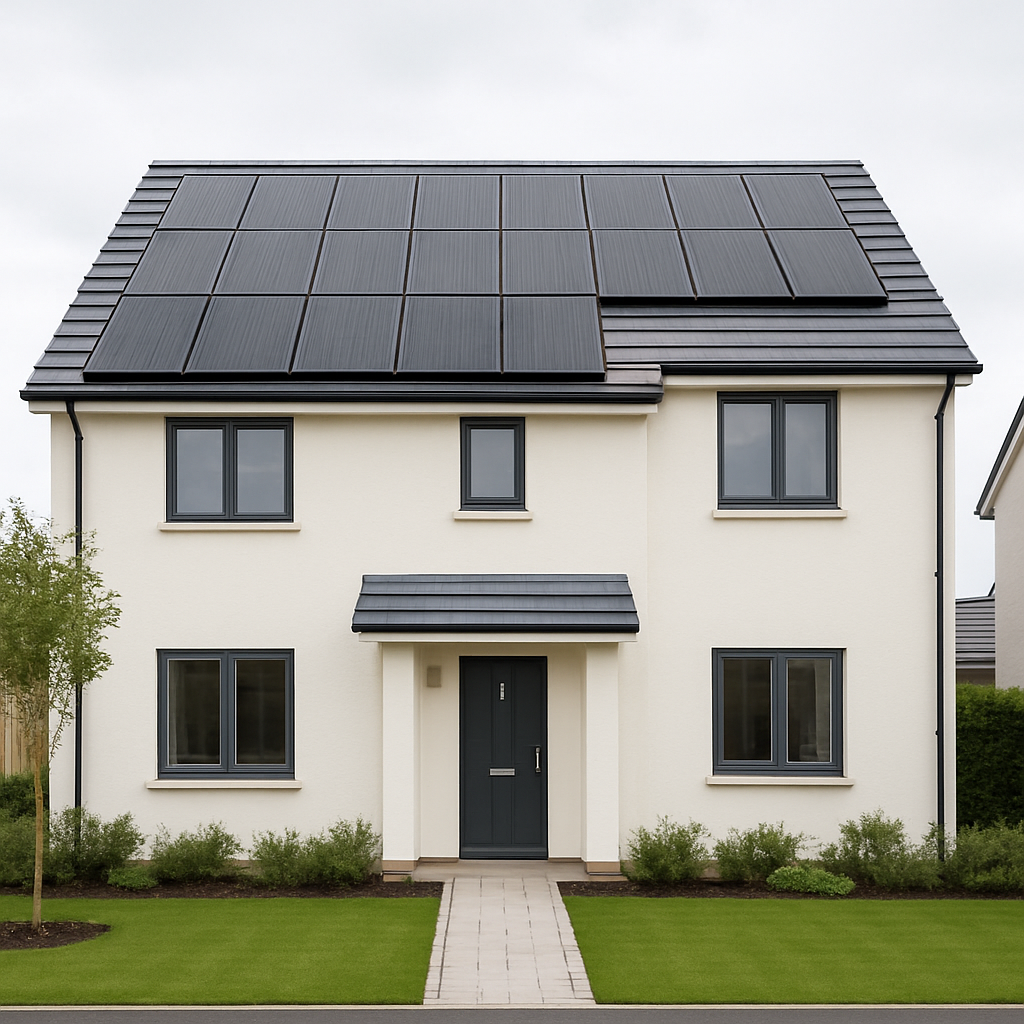
For tiled roofs, suitable roof hooks and mounting rails are generally used to create a secure structure for the panels. Careful alignment helps ensure the finished solar array looks straight, consistent and professionally installed.
Step 4: Installing the solar panels
Once the mounting structure is ready, the solar panels are moved into position, secured to the rails and electrically connected.
The cabling from the panels is then routed towards the inverter. Where possible, cable routes should be neat and discreet so that the finished installation looks appropriate for the property.
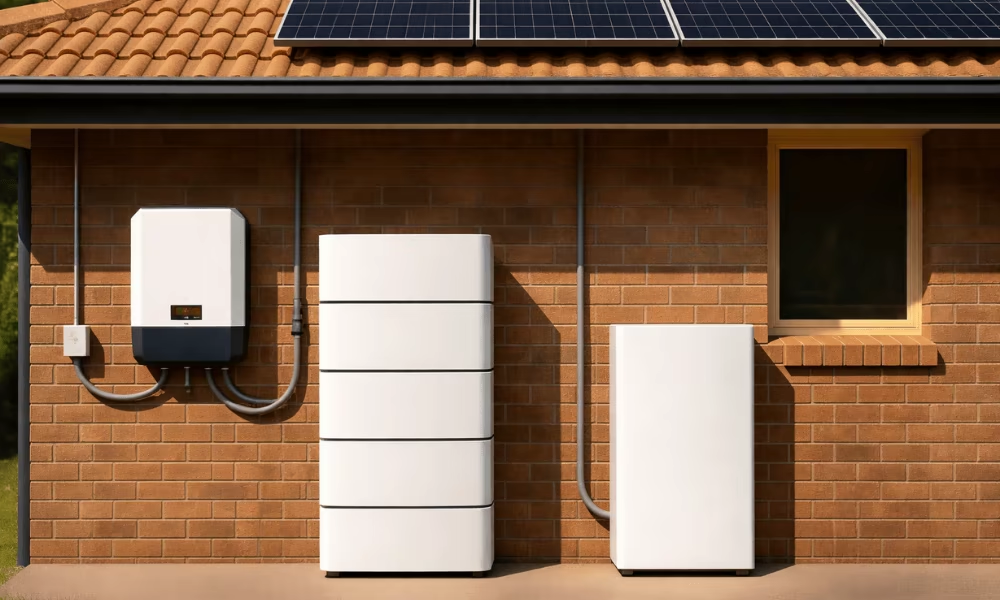
Step 5: Installing the inverter
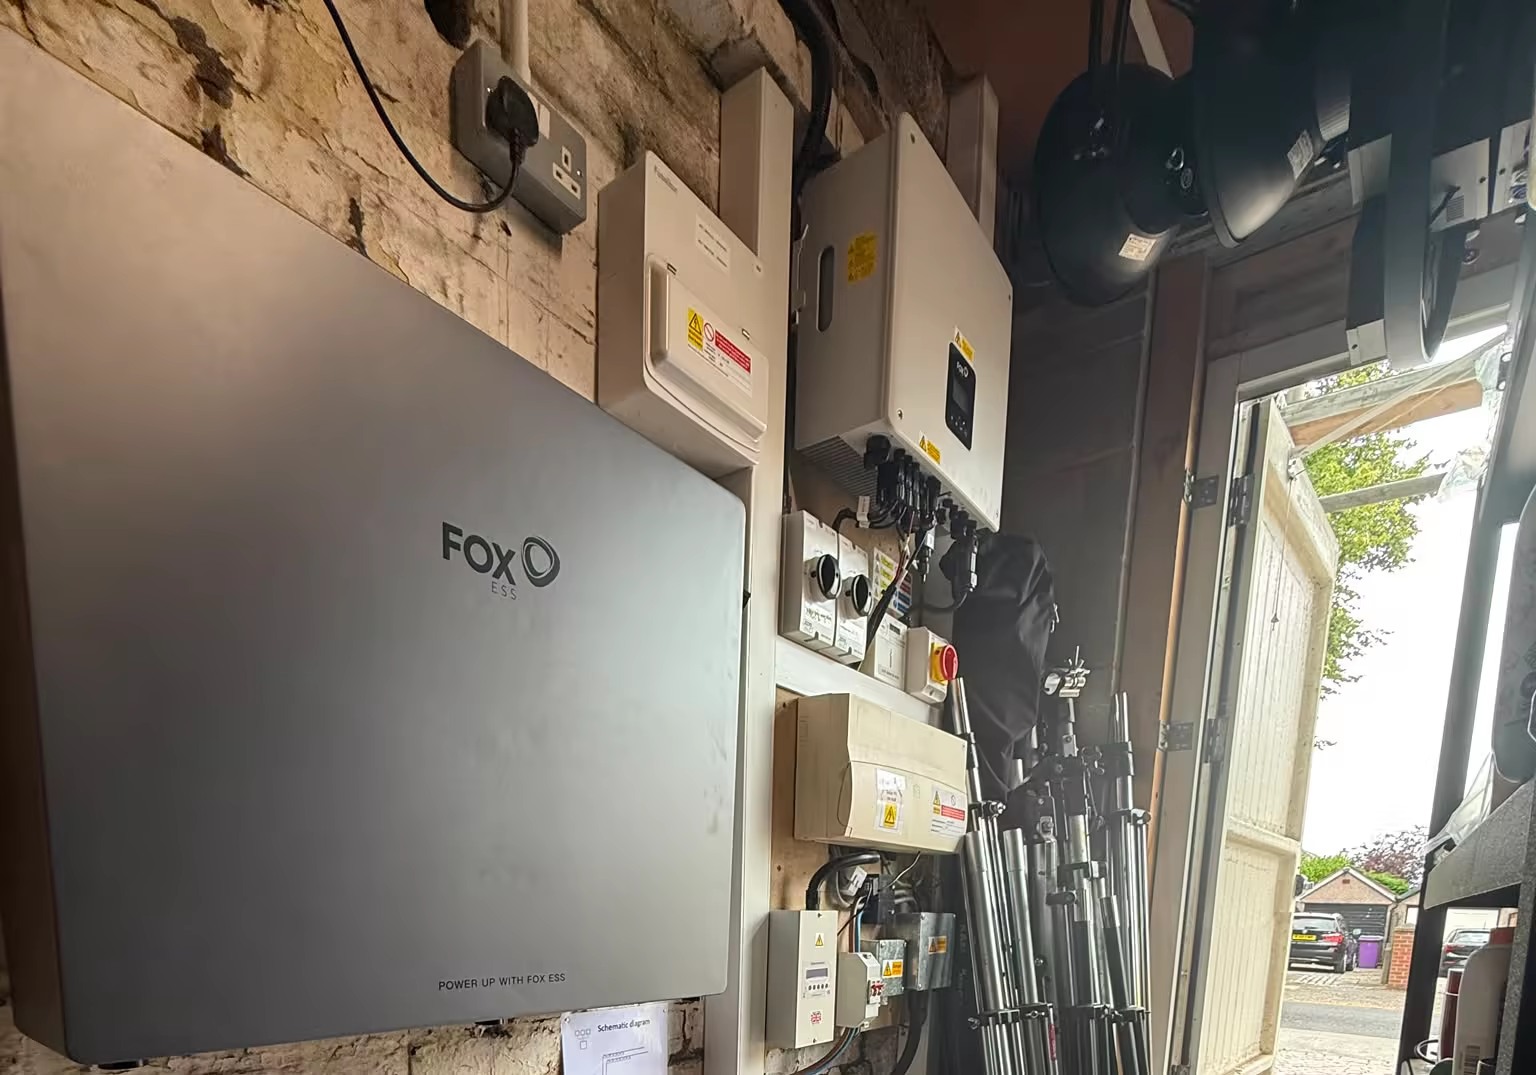
Solar panels produce DC electricity, while your home primarily uses AC electricity. The inverter converts the electricity generated by the panels into electricity that can be used within the property.
The inverter location depends on the system design. Relevant factors include:
- Cable distance
- Ventilation
- Accessibility
- Manufacturer requirements
- Battery location
- Appearance
- Weather protection
The inverter position should already have been considered during the design and survey stages.
Step 6: Installing battery storage
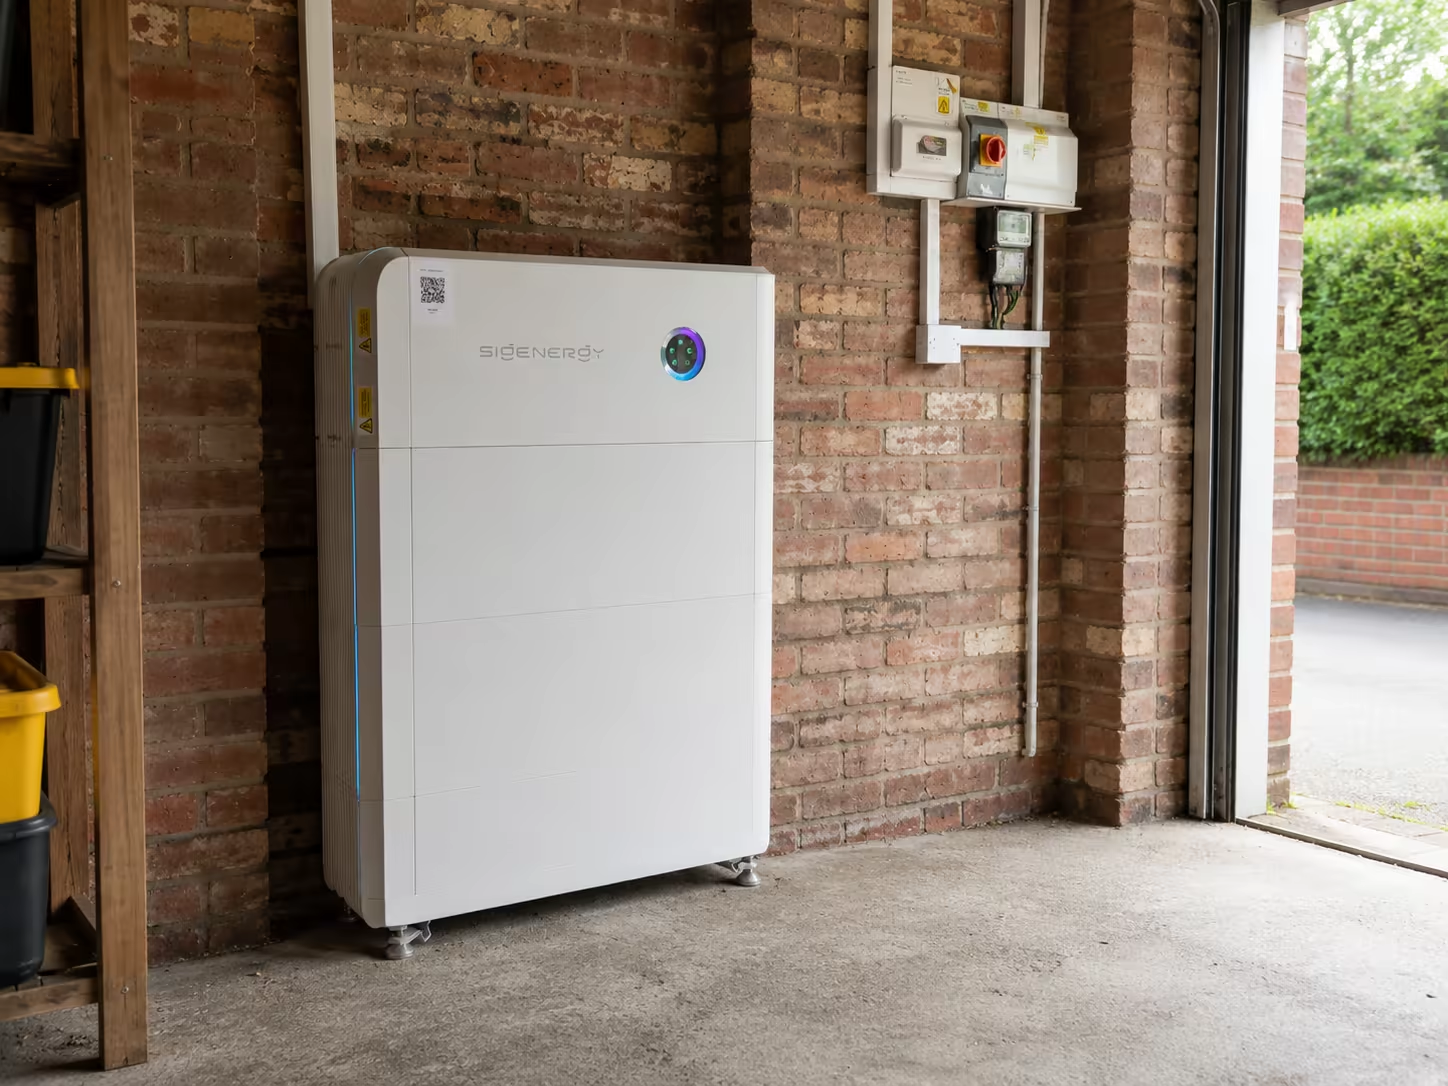
If battery storage is included, the battery is installed and connected to the rest of the system. It allows surplus electricity to be stored for later use.
For example, the solar panels may produce more electricity than the house needs during the afternoon. Instead of exporting all of that surplus to the grid, the battery can store some of it and help power the home later that evening.
Modern battery systems may also work with suitable time-of-use tariffs, allowing cheaper grid electricity to be stored during certain periods and used later.
Where will my battery be installed?
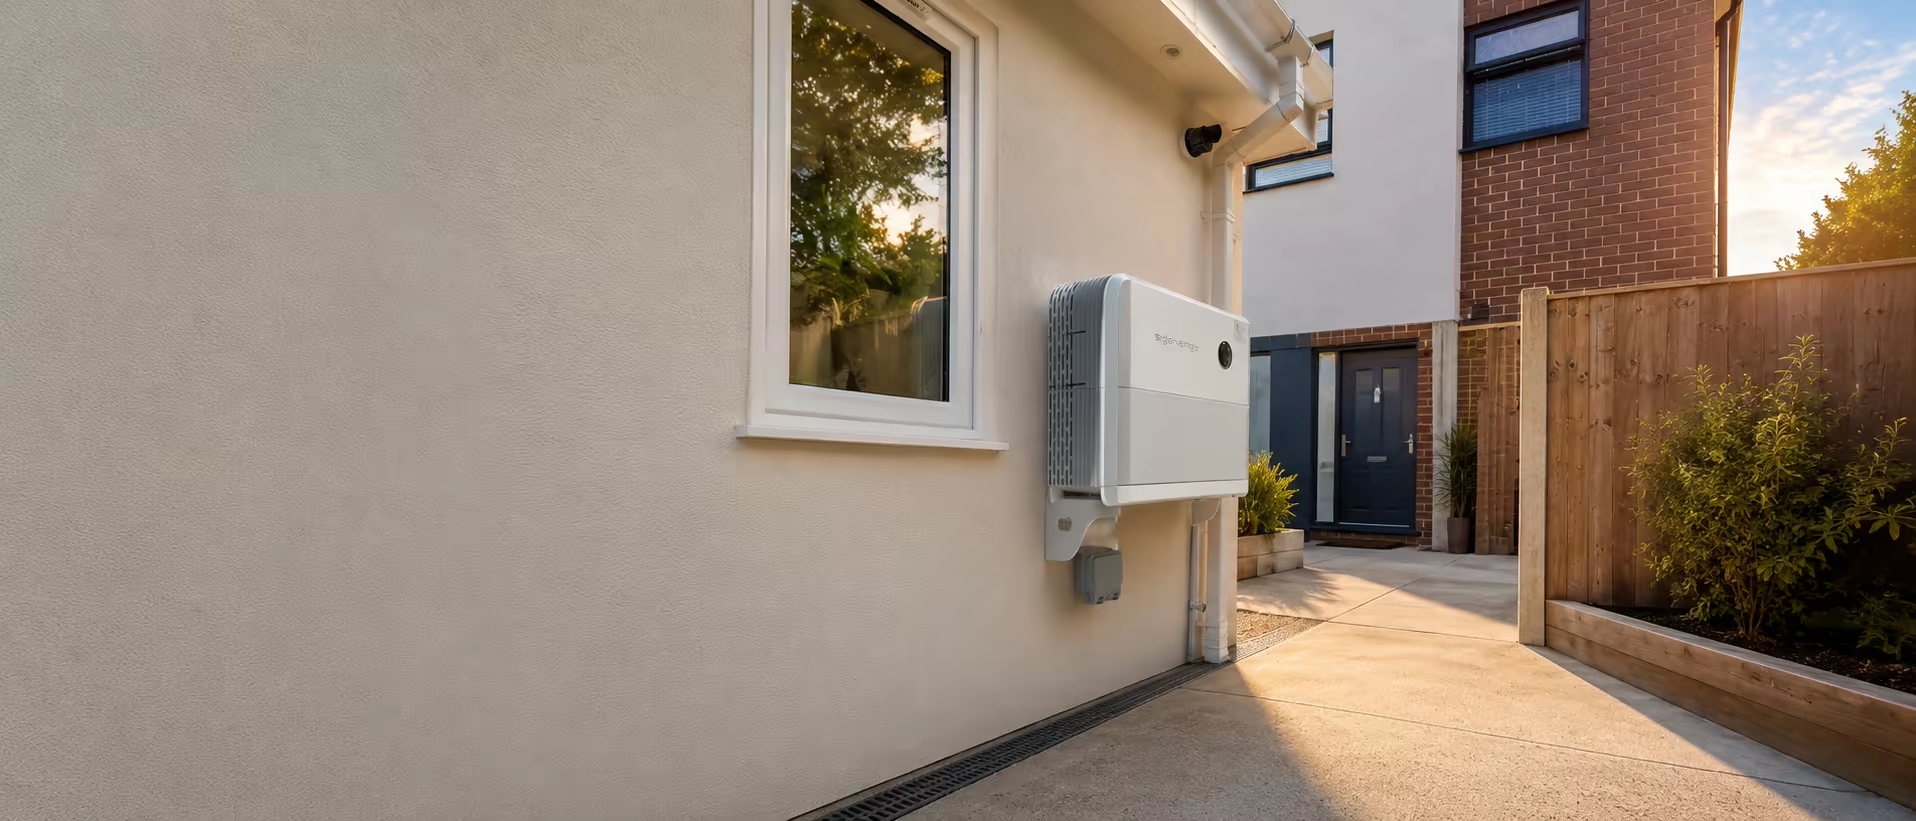
There isn’t one suitable location for every property. Depending on the system and building, batteries may be installed in places such as:
- A garage
- A utility area
- A suitable external wall
- A dedicated plant area
The location must meet the manufacturer’s requirements and the relevant electrical and fire safety considerations. At Generating Energy, we consider the battery position during the design process rather than deciding where it will go when the installation starts.
Step 7: Connecting everything to the house
Once the main equipment is installed, the electrical parts of the system need to be connected. The work can include:
- AC cabling
- DC cabling
- Isolation equipment
- Electrical protection
- Consumer unit connections
- Metering equipment
- Battery communication
- Monitoring equipment
There may be a short interruption to the electricity supply while the final connections are completed. However, homeowners shouldn’t normally expect the property to be without power for the entire installation.
How long does a solar panel installation take?
Many standard residential solar installations can be completed within approximately one or two days. A larger system involving multiple roof sections, battery storage, complex electrical work or additional equipment may take longer.
One of our Childwall projects involved removing an older solar system and installing 13 new panels, providing 5.85kWp of solar capacity. The installation also included 20kWh of battery storage, system commissioning, monitoring setup and a full customer handover. The project was completed within two days.
Speed isn’t the only objective. The important thing is completing the installation properly.
Step 8: Testing the solar system
Once the physical installation is complete, the system needs to be tested and commissioned. The installation team checks that:
- Solar generation is working
- The inverter is operating correctly
- The battery is communicating properly
- The monitoring equipment is working
- Electrical protection is functioning correctly
- The system has been configured properly
The panels being attached to the roof doesn’t mean the installation is finished. Testing and commissioning are essential parts of the work.
Step 9: Setting up the monitoring app
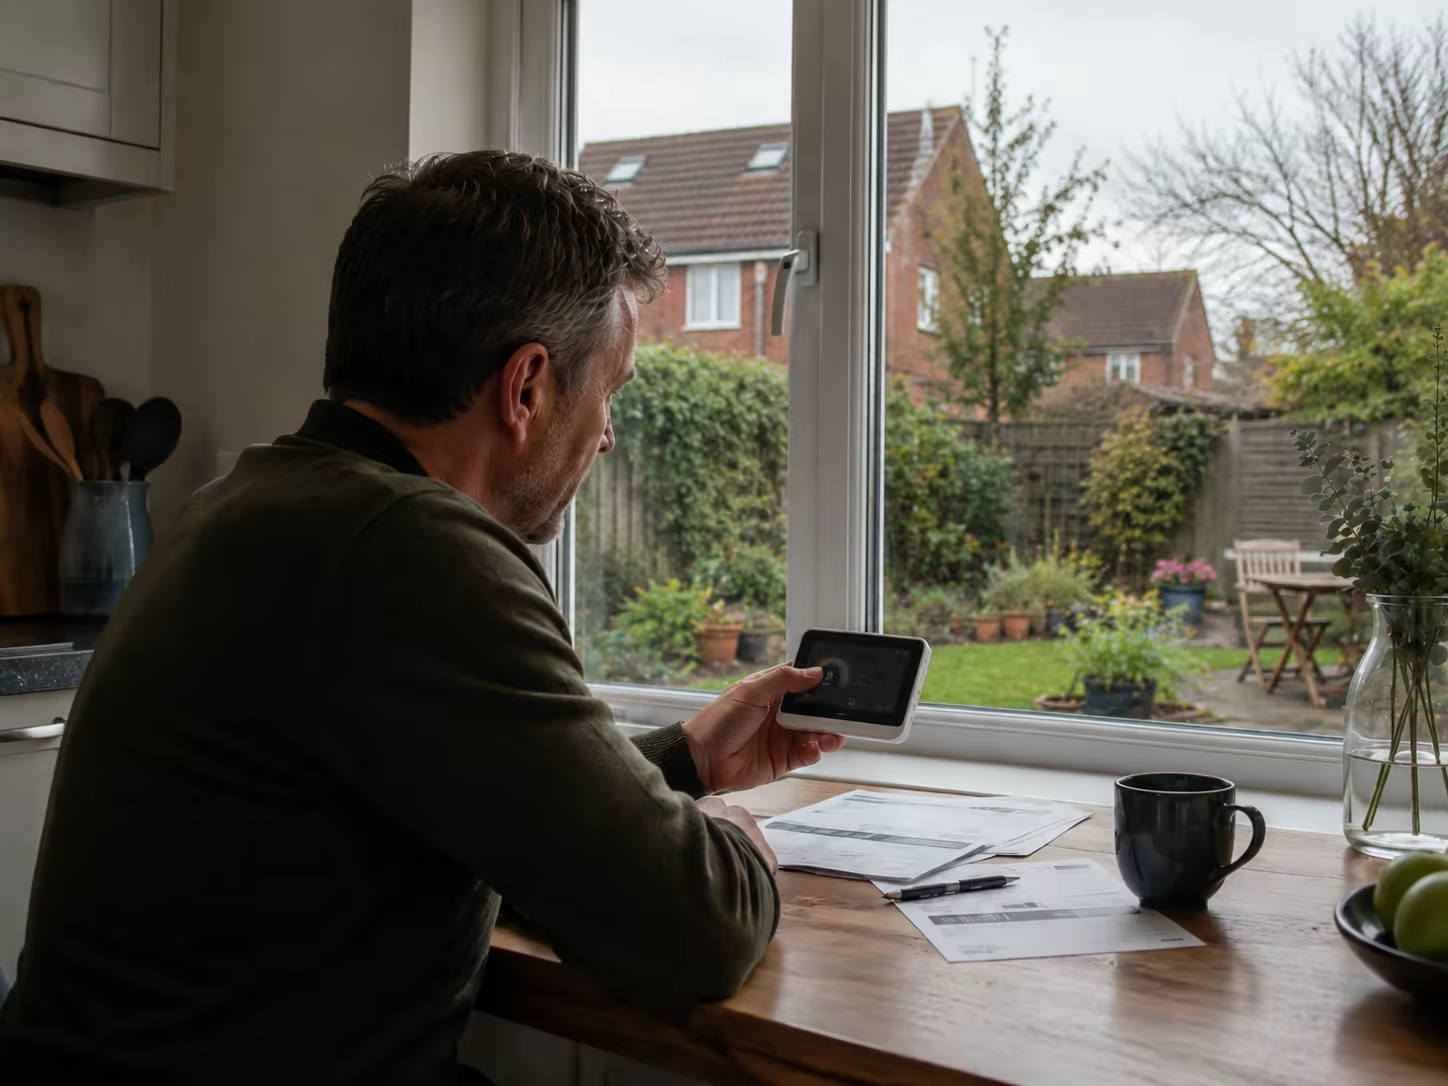
Monitoring is one of the most useful features of a modern solar and battery system. Depending on the equipment installed, homeowners can often view:
- Current solar generation
- Household electricity usage
- Battery charge level
- Grid imports
- Grid exports
- Historical generation
- Battery charging
- Battery discharging
This can change the way you think about electricity. Instead of only receiving an energy bill, you can see how energy is moving around the property.
You may start checking the app regularly
Many customers quickly become interested in how much electricity their panels are generating. They notice how much power the kettle uses, start running appliances during sunny periods and watch the battery charge throughout the afternoon.
Understanding how your property uses electricity can help you make better use of the energy your system generates.
Step 10: System handover
Once everything is operating correctly, the homeowner needs to understand what has been installed. The handover should include information about:
- The solar panels
- The inverter
- The battery
- Monitoring
- Isolation equipment
- System operation
- Warranties
- Certification
- Relevant documentation
At Generating Energy, we believe this stage matters. There is little value in installing advanced technology and leaving the homeowner unsure how to use it.
What happens with MCS paperwork?
For qualifying systems installed under MCS requirements, the necessary certification and documentation are completed after installation. This paperwork can also be important when applying for certain electricity export tariffs.
Your installer should explain which documents you’ll receive and which records you need to keep.
What happens with the electricity network?
Solar and battery installations may require notification to or approval from the relevant Distribution Network Operator, depending on the system. The requirements can be affected by factors such as the inverter capacity and proposed installation.
A professional solar installer should identify the correct process for the system being installed. Homeowners shouldn’t have to work out this technical process themselves.
When do the solar panels start working?
Once the system has been installed, tested and commissioned, it can begin generating electricity. If the sun is out on installation day, you may see electricity being produced almost immediately.
Solar electricity can then start supplying the home. If a battery is installed, surplus generation may begin charging it. For many customers, seeing their property generate electricity for the first time is one of the most satisfying parts of the process.
Will installing solar make a mess?
A professional installation should cause relatively little disruption. Engineers will need access to certain parts of the property, equipment must be brought in and electrical work needs to be completed, but the installation should be organised.
The finished work should be:
- Clean
- Straight
- Tidy
- Properly labelled
- Professionally finished
You shouldn’t be left with cables hanging everywhere or equipment positioned as an afterthought.
What should a good solar installation look like?
On the roof, you should expect:
- Straight panel rows
- Consistent spacing
- Secure mounting
- Minimal visible cabling
- A layout suited to the property
Around the electrical equipment, you should expect:
- Tidy cable routes
- Clearly positioned equipment
- Appropriate labelling
- Professional electrical work
Solar equipment will remain attached to your home for many years, so it should look like it belongs there.
What happens after the installation?
Aftercare becomes important once you start using the system. You may have questions about why the battery is charging from the grid, why solar generation has changed or which electricity tariff is suitable. You may also want to know whether you can expand the solar array, add battery capacity or install an EV charger later.
A good solar company should remain available after the installation. At Generating Energy, ongoing support is part of our approach. We want customers to get the most from the technology rather than installing the equipment and disappearing.
Frequently asked questions
How long does solar panel installation take?
Many residential installations can be completed within approximately one or two days, although larger or more complicated systems may take longer.
Will my electricity be turned off during installation?
There may be a brief interruption while the final electrical connections are made, but the property shouldn’t normally be without electricity for the entire installation.
Do solar panels require scaffolding?
Many pitched-roof solar installations require suitable scaffolding or other safe-access equipment.
Where is the solar inverter installed?
The exact location depends on the property and system design. Accessibility, ventilation, cable routes and manufacturer requirements all need to be considered.
Can a battery be installed at the same time?
Yes. Solar PV and battery storage are commonly installed together and can be designed as one properly integrated energy system.
What happens after installation?
The system is commissioned, monitoring is configured, the relevant paperwork is completed and the homeowner receives a full system handover.
Thinking about having solar panels installed?
Generating Energy installs solar PV, battery storage and EV charging systems throughout Liverpool and the wider North West. Our engineer-led team handles the process from the initial assessment and system design through to installation, commissioning and aftercare.
If you’re considering solar panels or battery storage, contact Generating Energy for a free initial assessment and tailored system design based on your roof, electricity usage and future plans.